What is the Oniric Glow Plugin?

Why Oniric v1.2.0 is Worth It
-
Photorealistic Bloom & Glare
Oniric generates two core effects – a soft bloom that makes bright areas glow beautifully, and glare streaks that emulate lens flares. These aren’t cheesy one-size-fits-all filters; they use realistic light falloff calculations, so your highlights get a natural halo that truly looks like light (great for sunsets, street lamps, neon signs – you name it).
-
Customizable & Creative
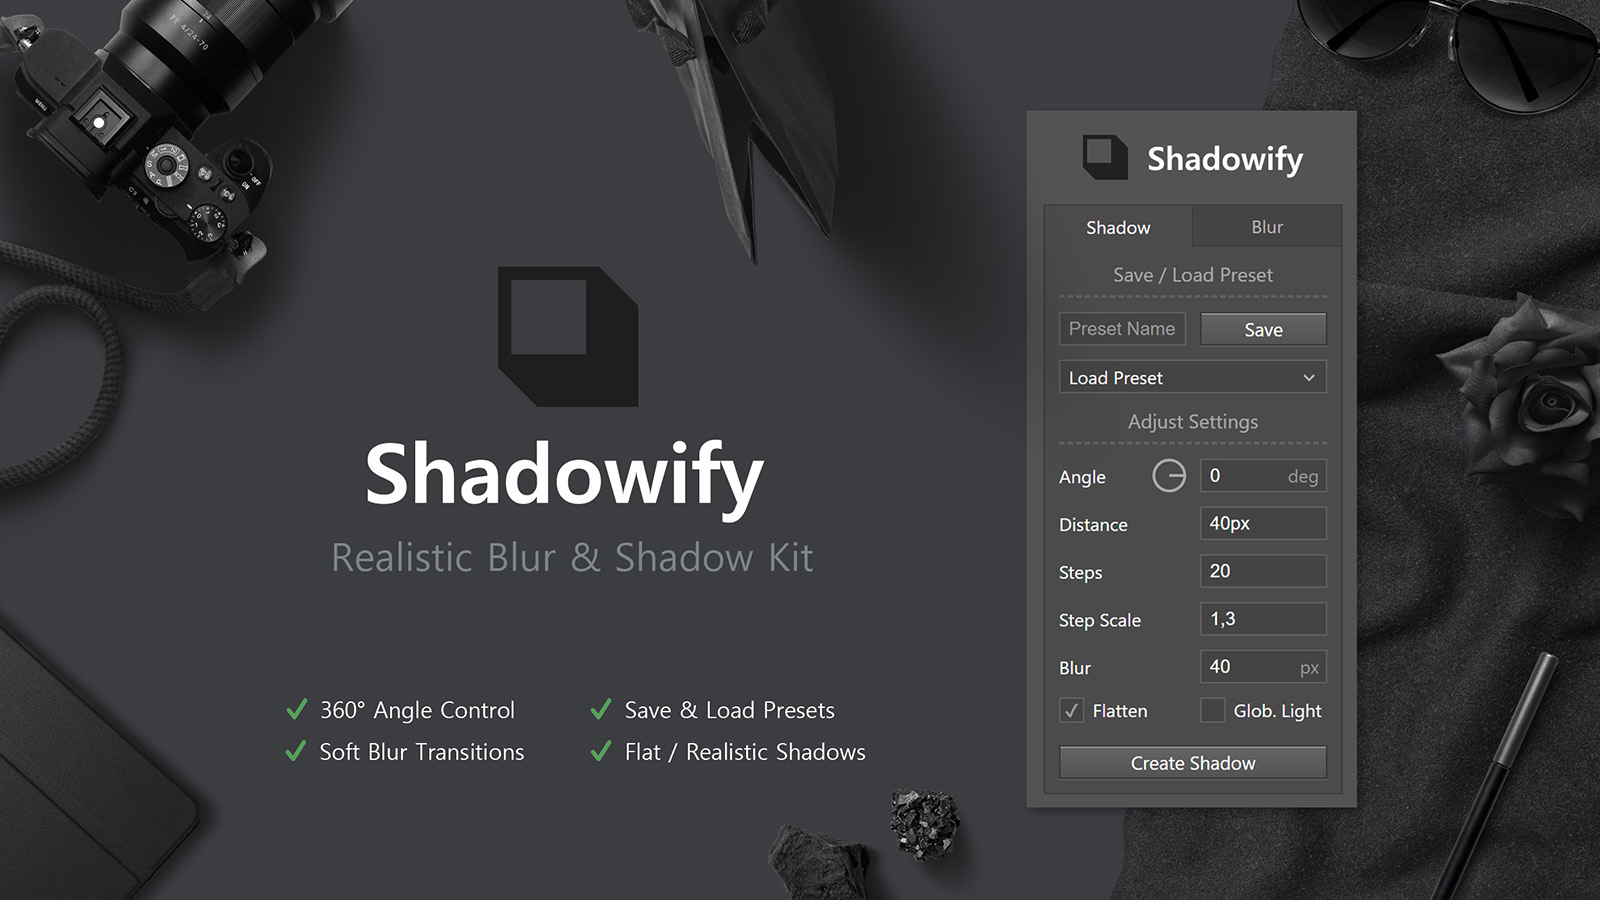
You have full control over the glow. Adjust the Threshold slider to decide which parts of the image glow (so you can limit the effect to the brightest highlights). Tweak Intensity and Radius to set how strong and far the light spreads. There’s even a Colorize option to tint the glow – add warm golden tones for a sunrise vibe or cool blues for a moonlit feel. This means Oniric isn’t just for realism; you can get artsy and change the mood of your scene with colored glows
-
Non-Destructive Editing
Unlike doing it manually, Oniric never damages your original layer. Every time you create a glow, it’s added on its own new layer. You can turn it off, mask it, or delete it without affecting your base image. Decided the bloom was too strong? Just lower that layer’s opacity or tweak the settings – no harm done. For us Photoshop users, this is a huge plus because experimentation won’t ruin our previous work.
-
32-Bit HDR Support
If you work with high dynamic range images or 32-bit composites, Oniric has you covered. It can create intense glows even from small bright sources in 32-bit mode. In practical terms, this means if you have super-bright specular highlights or HDR lighting in your image, Oniric can amplify those with a beautiful bloom without clipping. The dynamic range is extended, making the effect smooth and realistic in both shadows and highlights.
-
User-Friendly & Fast
Don’t let “physics-based” scare you – Oniric is actually easy to use. The interface is a simple panel with sliders and a big “Generate” button. No coding, no complex nodes. If you’ve never used a Photoshop extension before, no worries: once installed, you just go to Window > Extensions (Legacy) > Oniric, and the controls that pop up are pretty intuitive. It’s like having a mini lighting console inside Photoshop. Even on moderately powerful PCs or Macs, it runs quickly. You’ll see the glow update in real-time as you adjust settings, which makes the creative process feel fun and interactive.
-
One-Time Purchase, Big Value
Oniric was initially sold at a premium price – $79 USD for a single-user license – and many artists felt it was worth every penny. At ₹299, which is roughly $3.5, you’re getting the same powerful plugin for literally a fraction of the cost. There’s no subscription or recurring fee. Version 1.2.0 has all the core features that made Oniric famous, so you’re not missing out on the “magic.” It’s a bit like getting a high-end sports car at a used-car price because the newer model came out – you still have a fantastic machine in your hands! This makes it perfect for students or casual creators on a budget who still want pro-level effects.
How to Download and Install Oniric v1.2.0
Step 1: Download the Plugin File
Step 2: Extract the ZIP
Step 3: Copy the Oniric Folder to Photoshop’s Extensions
- On Windows: Open a File Explorer window and navigate to:
C:\Program Files (x86)\Common Files\Adobe\CEP\extensions\
- On Mac: Open Finder and press Shift + Cmd + G to open “Go to Folder”. Enter the following path:
~/Library/Application Support/Adobe/CEP/extensions/
Pro Tip
Step 4: Activate Oniric in Photoshop
Troubleshooting: Fixing the “Extension Could Not Be Loaded” Error
- Close Photoshop.
- Open the Registry Editor: Click the Start menu, type “regedit” and hit Enter. This opens the Windows Registry Editor (a database of system settings).
- Navigate to the Adobe CSXS settings: In RegEdit, expand HKEY_CURRENT_USER > SOFTWARE > Adobe > CSXS.10. (If you see other versions like CSXS.8, CSXS.9, etc., we’ll address those in a moment.)
- Add a Debug Mode entry: With the CSXS.10 folder selected, right-click in the right-hand pane and choose New -> String Value. Name the new string PlayerDebugMode. Press Enter, then double-click PlayerDebugMode and set its value to 1. Click OK. (This “1” means true/enabled – it tells Photoshop to allow unsigned extensions for development.)
- Add a Debug Mode entry: With the CSXS.10 folder selected, right-click in the right-hand pane and choose New -> String Value. Name the new string PlayerDebugMode. Press Enter, then double-click PlayerDebugMode and set its value to 1. Click OK. (This “1” means true/enabled – it tells Photoshop to allow unsigned extensions for development.). This just covers all bases for different Photoshop versions you might have.
- Close RegEdit and Restart your computer. A reboot ensures the registry changes take effect.
What about Mac?
defaults write com.adobe.CSXS.10 PlayerDebugMode 1